Ever wondered how to draw a raccoon that looks both cute and realistic? If you're looking to improve your sketching skills or just want to have some fun creating art, this guide is perfect for you. Whether you're an experienced artist or a beginner, we'll walk you through the process of drawing a raccoon using simple steps and easy-to-follow instructions.
Drawing animals can be tricky, but breaking down the process into manageable steps makes it much simpler. This tutorial focuses on creating a cartoon-style raccoon, which is great for kids and adults alike. With just a few basic tools like paper, a marker, and colored pencils, you’ll be well on your way to crafting a charming raccoon in no time.
Not only will you learn how to draw a raccoon, but you'll also discover tips for adding details like fur texture and shading. By the end of this guide, you’ll have a drawing that you can proudly show off or color in with your favorite hues. So grab your supplies and let’s get started!
Table of Contents
- How to Draw a Raccoon - Getting Started
- What Materials Do You Need for This?
- How Do You Begin Your Raccoon Drawing?
- Adding Details - Why Are They Important?
- Steps to Draw a Raccoon's Face
- How Can You Make the Body Look Realistic?
- Tips for Coloring Your Raccoon
- Final Thoughts - Summing It Up
How to Draw a Raccoon - Getting Started
Alright, so you’ve decided to take on the challenge of learning how to draw a raccoon. That’s awesome! The first step is to gather your materials. You’ll need a piece of paper, a marker for outlining, and colored pencils for adding color and depth. If you want to make things easier, you could also use a pencil for sketching out the initial shapes before going over them with a marker.
Now, here’s the fun part: getting started. Begin by lightly sketching an oval for the head. This will act as the foundation for your raccoon’s face. Next, draw two incomplete ovals connected to the head to indicate the front and back of the body. These shapes don’t have to be perfect—just close enough to give you a rough outline of where everything goes. In fact, it’s okay if they’re a little wonky; imperfections often add character to your drawing.
What Materials Do You Need for This?
Before jumping into the actual drawing, let’s talk about what you’ll need. First, grab a nice, smooth sheet of paper. Nothing fancy, just something that works well with markers and colored pencils. A permanent marker is ideal for creating bold outlines because it gives you that dark, crisp line everyone loves. For colors, choose a set of high-quality colored pencils if possible. They tend to blend better and offer more vibrant shades.
Some people prefer using specific brands for their art supplies. For instance, I really like how one particular brand makes such dark, smooth lines with its markers. It’s just a personal preference, but it could make a difference in how your final drawing turns out. Oh, and don’t forget—you can find most of these items online at a reasonable price. Just remember, if you buy through certain links, they might be affiliate links, meaning the seller earns a small commission.
How Do You Begin Your Raccoon Drawing?
So, how exactly do you begin your raccoon masterpiece? Well, first things first, start with the head. Sketch a small oval near the top of your paper. Then, connect a larger, rounded shape below it for the body. Make sure the body isn’t too far from the head, or your raccoon might end up looking stretched out. Typically, the body circle should be about twice the size of the head oval.
Once you’ve got the basic shapes down, add a line down the middle of the head. This acts as a guide for placing the facial features later. Next, sketch two small arcs on top of the head for the ears. These don’t need to be perfect either, but try to make them somewhat triangular for that classic raccoon look. Now you’ve got the framework for your furry friend!
Why Are Details Important?
Adding details is what brings your raccoon to life. Think about it—those little touches like the fluffy fur texture and expressive eyes are what make the drawing pop. Start by sketching short lines along the sides of the head to mimic fur. Then, draw a triangular nose at the bottom of the face and a curved line for the mouth. These small elements can completely transform your drawing from plain to playful.
Of course, details don’t stop there. Move on to the paws and tail next. Use short, dashed lines to outline the front paws near the guidelines you drew earlier. For the tail, create an elongated, pointed figure connected to the back of the body. Raccoons have thick, fluffy tails, so don’t be afraid to exaggerate the fluffiness a bit. It’ll only enhance the realism of your drawing.
Steps to Draw a Raccoon's Face
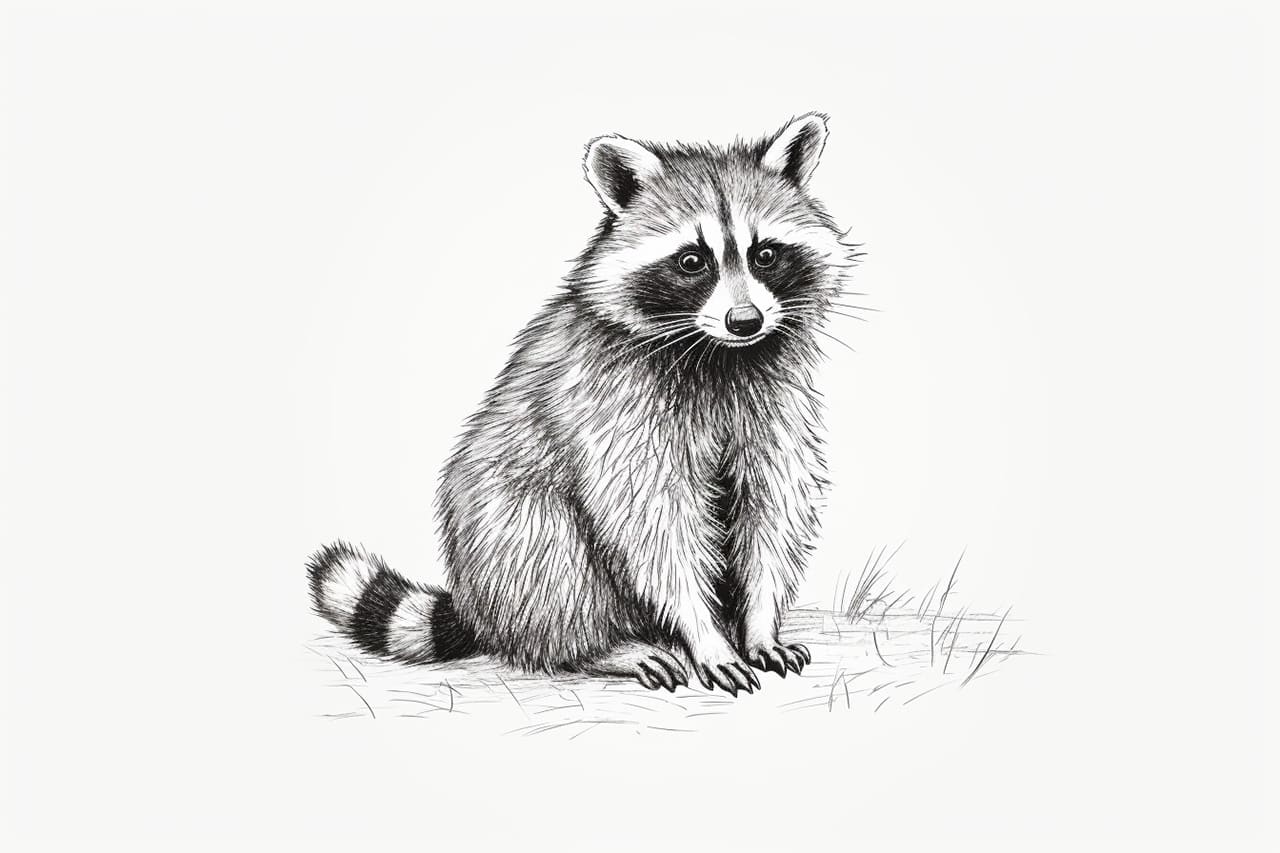
Let’s focus on the face for a moment. A raccoon’s face is one of its most distinctive features, thanks to that iconic mask pattern. To draw it, start by sketching out the fur around the eyes. Add two dark patches for the eye sockets, leaving a bit of white space in between for the nose and mouth area. This creates the illusion of the raccoon’s mask.
After that, work on the eyes themselves. They should be small and round, giving your raccoon a curious or mischievous expression. Don’t forget to add pupils to make them look alive. Finally, refine the nose and mouth, smoothing out any rough edges. At this point, your raccoon’s face should start taking shape, and it’ll already feel like you’ve got a little critter staring back at you!
How Can You Make the Body Look Realistic?
Now that you’ve nailed the face, let’s talk about the body. To make the body look realistic, focus on texture. Instead of drawing a single, smooth line around the edges, use lots of short, jagged lines to represent fur. This technique gives your raccoon a more natural appearance. Plus, it adds dimension to the drawing, making it pop off the page.
For the tail, continue using those short, jagged lines to create the illusion of thick, fluffy fur. Raccoons have alternating dark and light rings on their tails, so try to incorporate that pattern into your design. You don’t have to be super precise, but getting the general idea across will make your drawing much more convincing.
Tips for Coloring Your Raccoon
Coloring is the final step in bringing your raccoon to life. Begin by choosing a base color for the body, such as gray or brown. Then, layer in darker shades for the fur and lighter tones for highlights. This creates depth and makes the raccoon look more three-dimensional. For the mask, go with a deep black or dark gray to emphasize its striking appearance.
When coloring the eyes, consider using a slightly lighter shade for the irises and black for the pupils. This combination helps draw attention to the face while maintaining that cute, cartoonish vibe. And don’t forget the tail! Alternate between dark and light bands to replicate the raccoon’s natural markings. Once you’ve finished coloring, take a step back and admire your work.
Final Thoughts - Summing It Up
So, there you have it—your very own raccoon drawing! By following these simple steps, you’ve created a charming little creature that’s sure to bring joy to anyone who sees it. Whether you’re drawing for fun or practicing your skills, remember that practice makes perfect. Keep experimenting with different techniques and styles, and who knows? You might just discover a new favorite hobby.
Oh, and if you enjoyed this tutorial, be sure to check out some of our other lessons on drawing cartoon animals. New content is uploaded every week, so there’s always something new to explore. Happy drawing, and don’t forget to share your creations with friends and family!


Detail Author:
- Name : Milton Wehner
- Username : cjohnson
- Email : raven.boyer@langosh.biz
- Birthdate : 1997-11-28
- Address : 8241 Kelly Vista East Ramonabury, NV 02626-5101
- Phone : +1 (832) 841-4622
- Company : Kuhn-Medhurst
- Job : Keyboard Instrument Repairer and Tuner
- Bio : Corporis error praesentium ipsam exercitationem et natus. Necessitatibus accusantium voluptatem eum et dolore. Soluta molestiae est doloremque beatae suscipit.
Socials
linkedin:
- url : https://linkedin.com/in/murray1982
- username : murray1982
- bio : Voluptatibus quis eos fugit vitae eaque est.
- followers : 2756
- following : 2377
facebook:
- url : https://facebook.com/jmurray
- username : jmurray
- bio : Temporibus tempora tempore a excepturi sint at.
- followers : 1110
- following : 1851
tiktok:
- url : https://tiktok.com/@jeffry1672
- username : jeffry1672
- bio : Corporis non quae sit cum fuga sunt fuga.
- followers : 3834
- following : 1205
twitter:
- url : https://twitter.com/jeffry_murray
- username : jeffry_murray
- bio : Non sed quaerat natus est et sit. Est rem distinctio dicta est minus perferendis praesentium. Praesentium omnis commodi dolorem in ut.
- followers : 6922
- following : 74
instagram:
- url : https://instagram.com/jeffry_murray
- username : jeffry_murray
- bio : Et qui minima nam beatae esse. Assumenda temporibus officiis nemo cum.
- followers : 4958
- following : 320
